Paper Ornament using the Stampin' Up!
Gift Bow Bigz L Die by Sizzix
 |
Suplies needed:
Paper/card stock in two different colors, wire, wire cutter, pliers,
paper trimmer or scissors, 1/8" hole punch, tape,
four or more beads (2 big, 2 small)
circle punches for two 1" circles and two 1/2" circles |
 |
I started by die cutting two each of the bow part
from the Bigz die. |
 |
With a paper trimmer or scissors- cut the supporting color (white) down
to an inch and a half and mark to punch holes (about 1/8" from ends) for wire and beads. |
 |
Cut a 6 inch length of 26 or so gauge bead wire and use
the pilers to make a lope at end to secure the bead.
Also, make a 2" long tube/straw out of paper to support the strips. |
 |
Also die cut or punch two 1/2" circles and
two 1" circles and punch 1/8" hole in center |
 |
Add the smallest bead to wire, the larger bead and
one of the 1/2" circles. |
 |
Aline strips in this pattern and add them onto
your wire in the order seen here. |
 |
After the strips are loaded onto the wire add
a larger circle (1") and the tube/straw and
the second 1" circle at top end of the tube. |
 |
Start adding the thinner white strips first onto the wire.
Add the ends that are across from each other. |
 |
(YOU MAY ADD GLUE IF YOU LIKE TO SECURE THE STRIPS)
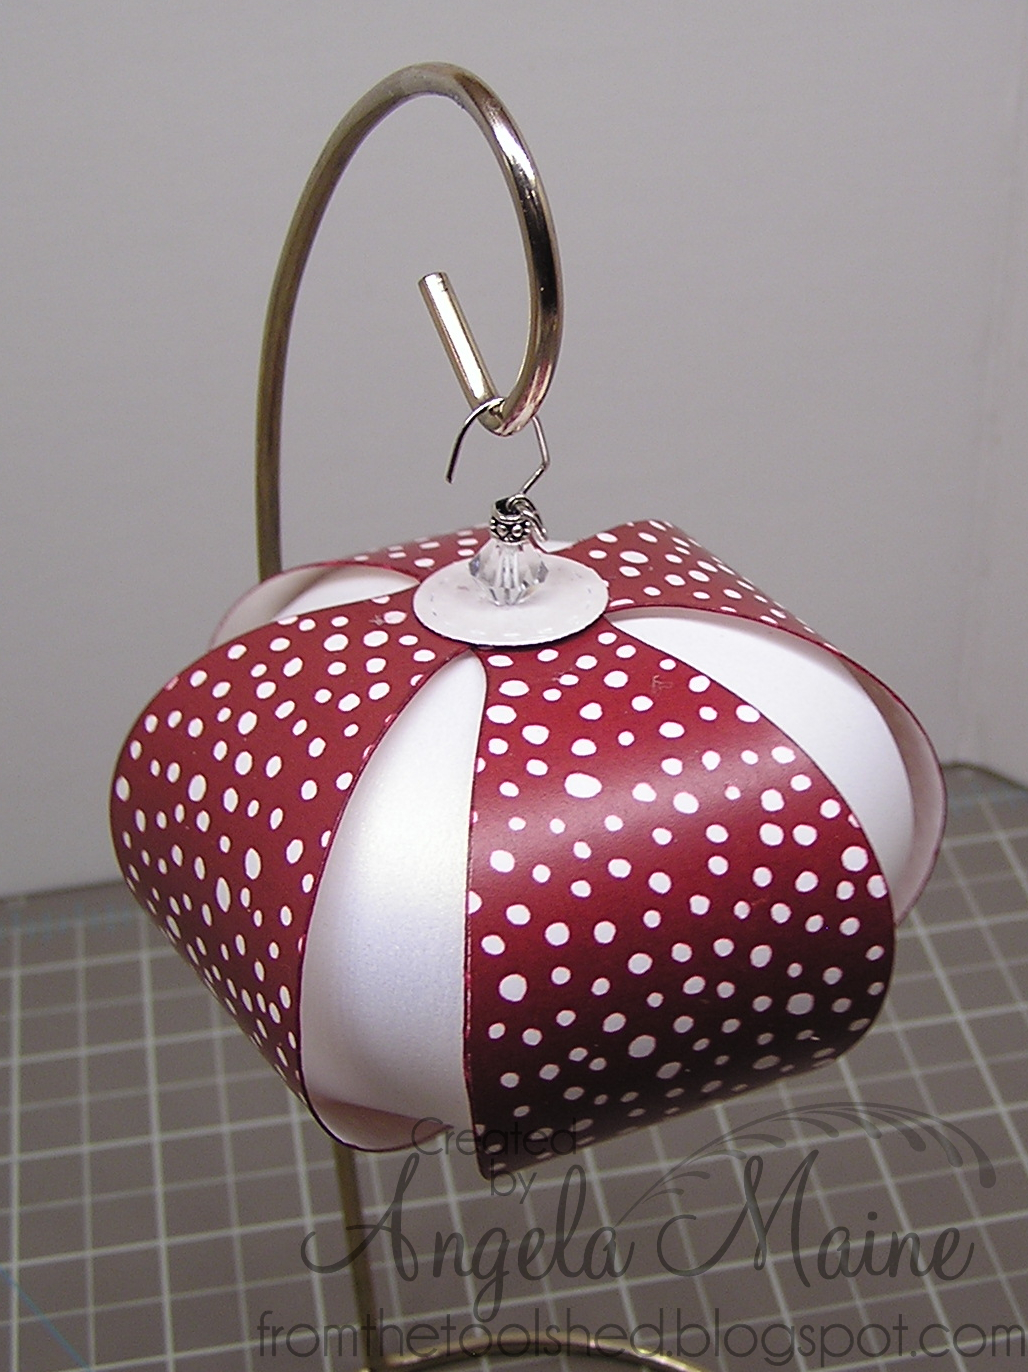
Add the red strips in the same X formation (the ends across from each other)
then add the last 1/2" circle, the larger bead and the smaller. Make a loop in the wire to secure the bead and use remaining wire for the hook if you like. |
I HOPE YOU WILL TRY THIS! It's addicting and FUN!
IF SOMEONE HAS ALREADY COME UP WITH THIS DESIGN FROM THE BOW DIE, PLEASE SHARE TECHNIQUE WITH ME.
HAPPY HOLIDAYS!